How do I space a diptych or triptych on my wall?
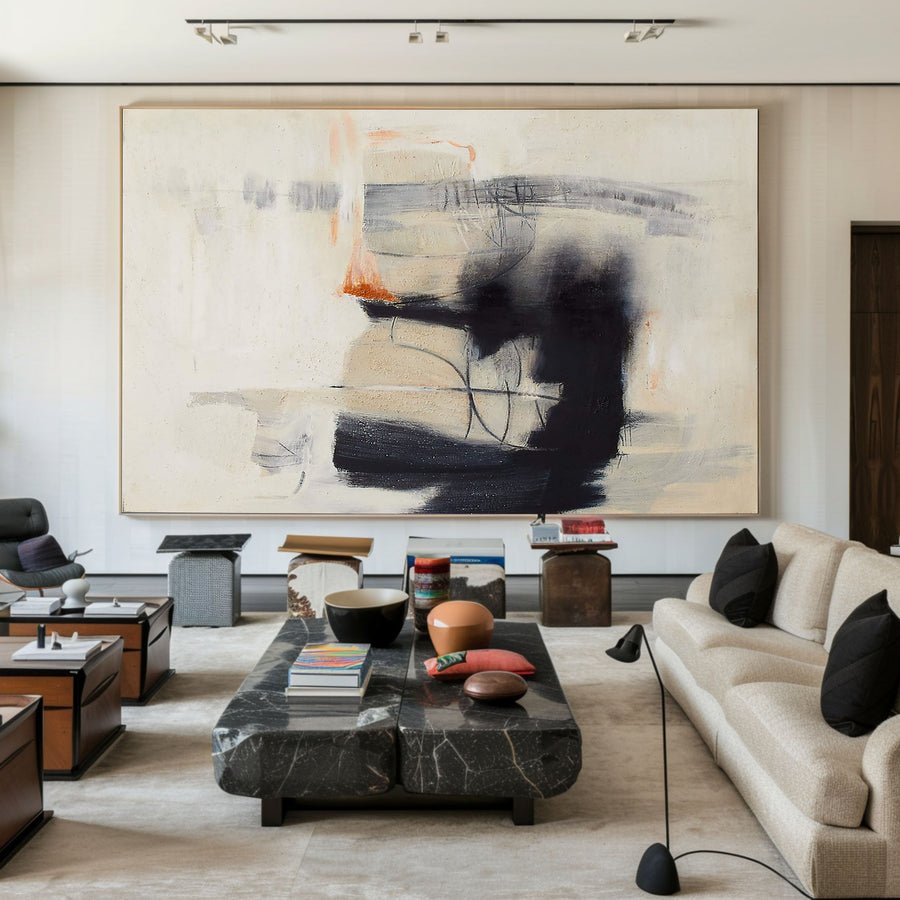
I can buy a beautiful set and still make it look uneven on the wall. Small spacing errors become obvious when several panels share one line.
I calculate the complete group width, test the gaps with paper templates and choose a clear alignment line. I check the actual panel sizes and hanging points before installation. I keep the spacing consistent unless the artwork was designed for an uneven arrangement.
I separate the group layout from the wall fixings. That gives me time to find a balanced arrangement before I make any holes.
How do I calculate the total width of the artwork group?
I can measure three canvases and forget the two gaps. The group then reaches a door edge that I meant to keep clear.
I add all finished panel widths and every gap between them. I compare that total with the usable wall. I include frame widths and leave room around doors, corners and nearby furniture.
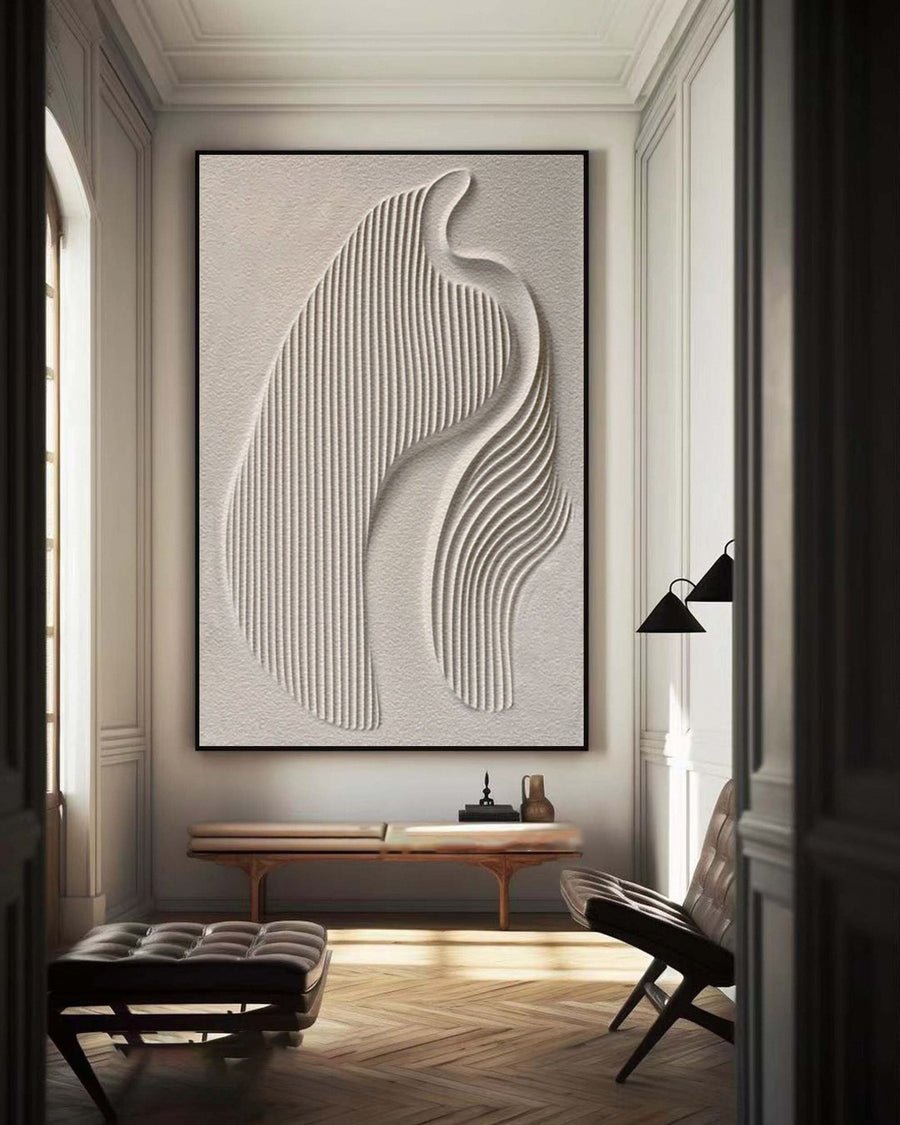
I count panels and gaps separately
I begin with the actual finished dimensions of every panel. I do not assume that a triptych contains three identical canvases. Some sets have a wider middle panel. Others use narrow side pieces. The layout needs those individual measurements before I decide on spacing.
For an example with three panels, I add the first width, the second width and the third width. I then add two gaps. If the widths are forty centimeters each and the gaps are five centimeters each, the complete group is one hundred thirty centimeters wide. This is an example of the calculation, not a recommended size for every room.
I repeat the calculation when frames are added. The full framed width may be larger than the stated canvas width. I also note depth because a deep frame can look crowded near a corner even when the front measurements fit. Framing guidance helps me ask about the support and finished frame rather than guessing from a thumbnail.[1]
I mark the whole group on the wall with paper. I leave switches and door trim visible. I stand back far enough to see the surrounding furniture. A group that fits mathematically can still feel too dense when the room has many other objects.
I share the complete group measurements when I discuss a custom composition. I keep the gap value in the same drawing so it does not get lost between the art brief and installation.
| Decision | My check |
|---|---|
| Panel widths | I measure each finished panel separately. |
| Gap count | I use one fewer gap than the number of panels. |
| Whole group | I compare the total with clear wall space. |
What gap should I leave between the panels?
I can follow a common gap number and split a flowing image too far apart. The right gap depends on the artwork and viewing distance.
I test a small range of gaps rather than using one universal number. I preserve the visual relationship between panels and inspect the group from its normal viewing distance. I confirm any artist-specified spacing first.
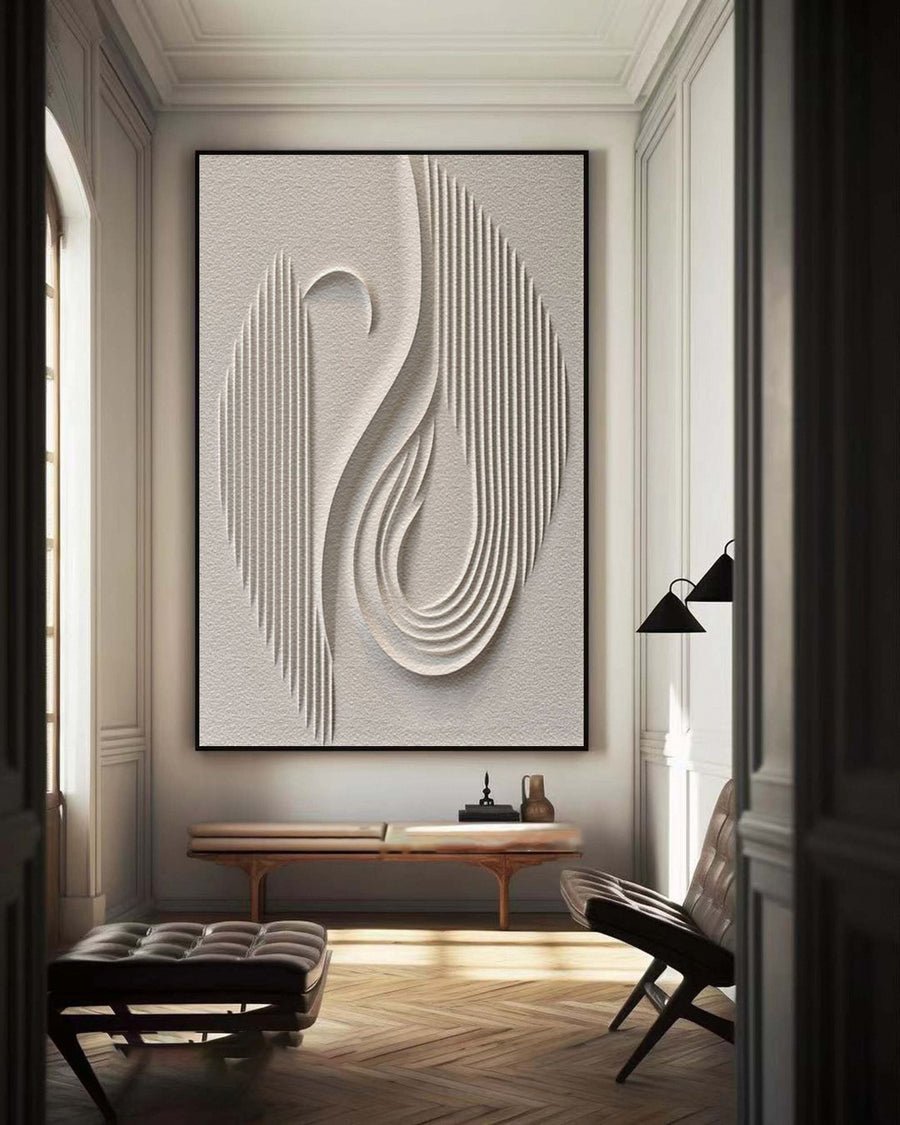
I test visual continuity before choosing a number
I look at the design before I measure a gap. A landscape that continues across three panels needs a different test from three separate abstract paintings. In the landscape, I want the horizon to feel connected. In the abstract group, I may want each piece to keep more independence.
I ask whether the artwork has a planned display gap. If the artist has built the design around a particular separation, I start there. I still confirm whether that instruction refers to the canvas edges or the outer frame edges. Those are not always the same measurement.
I compare two or three paper layouts on the wall. I might test a narrower gap and a slightly wider gap without calling either one a standard. I take a straight-on photograph from the sofa or dining chair. I also look from the entrance. A gap can disappear from far away and look generous at close range.
I keep the spacing equal for a regular set unless the composition gives me a clear reason to do something else. Uneven gaps often look accidental when the panels have matching dimensions. I do not use a slight size difference as an excuse to improvise during installation.
I consider the frame color too. Three dark frames create stronger separations than three pale frames at the same gap. I use a paper border to represent that difference before I make the final choice.
| Decision | My check |
|---|---|
| Continuous image | I inspect lines that cross between panels. |
| Separate designs | I decide how much independence each piece needs. |
| Dark frames | I test whether the borders make the gaps feel stronger. |
Should I align the top, center or bottom of each panel?
I can hang each piece at its own comfortable height and create a group that looks tilted. A shared alignment makes the set easier to read.
I choose one deliberate alignment for the group. Equal panels usually share a level center or top line. Unequal panels need a planned drawing that shows how their edges and visual weight relate.
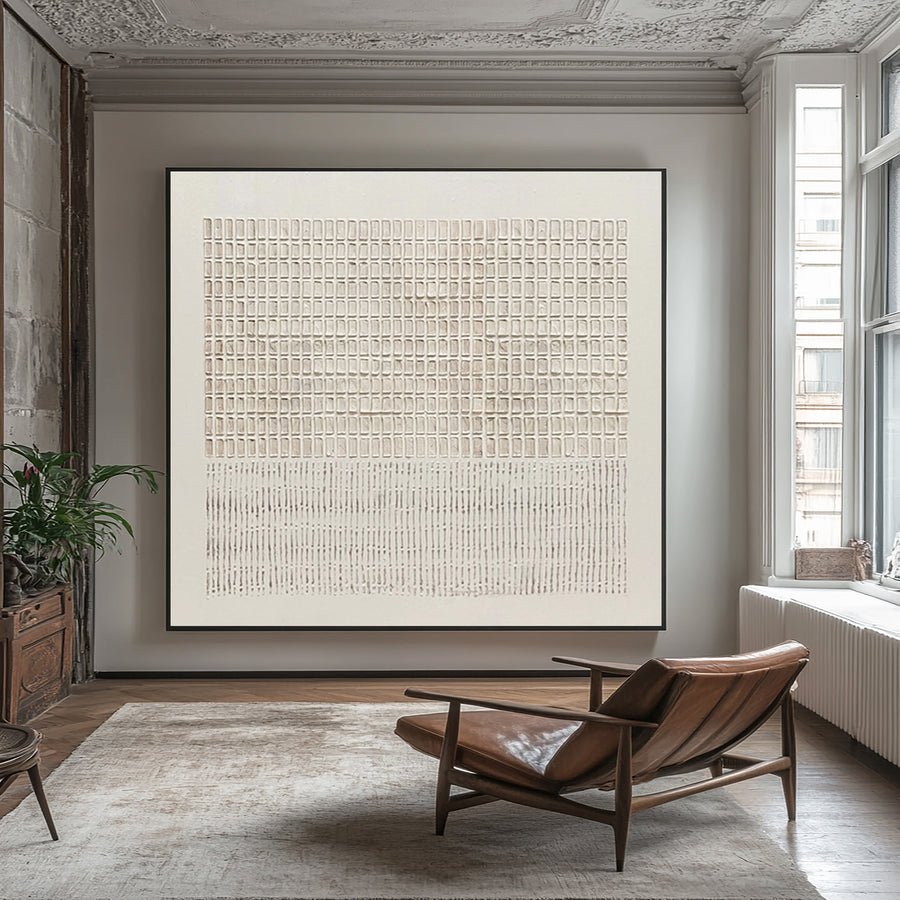
I draw one clear reference line
I first check whether the panels really have equal heights. Listing photographs can hide small differences. I also ask whether the image itself contains a horizon or another line that should continue across the set. The outer frame and the painted line may suggest different alignments.
I make a front-view drawing with every panel height written beside it. For equal-height pieces, the top and center lines will agree if the hanging is level. For unequal pieces, I choose the line that supports the composition. I do not automatically center every panel on its own wall area.
I test the arrangement with paper templates. I mark the shared reference line on the templates rather than drawing permanent lines across the wall. I then look at the group from its usual position. If one panel has a heavy dark area at the bottom, the group may feel uneven even when all frames are level.
I remember that hanging points can differ. A wire, a pair of fittings and a fixed bracket do not place the artwork at the same height from a single wall mark. I give the installer the intended frame positions and the actual mounting information. Handling guidance is relevant when several pieces are moved and placed during this process.[2]
I keep the group layout with my order details. That makes a later move or reinstallation easier because the chosen alignment is already clear.
| Decision | My check |
|---|---|
| Equal heights | I use a level common reference. |
| Unequal heights | I draw the intended edge relationships. |
| Mounting points | I check each panel rather than copying one hole position. |
How do I install the group without damaging the artwork?
I can rush from a successful paper layout to lifting several panels at once. The final steps need care as well as accurate measurements.
I confirm the wall type, panel weight and suitable hardware before hanging. I handle one piece at a time with proper support. I check the final gaps and level without pushing or touching the painted surfaces.
I make the installation plan match the group
I photograph the approved paper arrangement before I remove it. I write the outer corners and gap measurements on a separate drawing. This gives me a reference if the templates come down or if another person handles the installation. I keep the panel order clear too.
I ask for the weight of each framed piece. I do not assume that similar sizes weigh the same. One panel may contain thicker texture or a heavier frame. The installer can then choose appropriate fixings for the real wall construction. I do not use decorative appearance as proof that the hardware is strong enough.
I make a clean temporary space for each panel. I keep it away from foot traffic and avoid leaning a painted face against another object. The Canadian Conservation Institute offers guidance on handling and display risks.[3] I use those sources to avoid casual contact with a surface that may be more delicate than it looks.
I check the gaps with the outer frame edges after all pieces are in place. I also inspect the group from the normal viewing point. A wall can have small irregularities that were not obvious in the drawing. I let a qualified installer adjust the mounting rather than pulling on the frames.
I can discuss grouped pieces through the trade program when a larger project needs a recorded layout. I request written panel dimensions and mounting details so the installation team has usable information.
| Decision | My check |
|---|---|
| Before lifting | I record the approved layout and panel order. |
| Wall preparation | I match hardware to weight and wall construction. |
| Final check | I verify gaps and level from the viewing position. |
Conclusion
I plan a diptych or triptych as one complete group. I test total width, spacing and alignment before arranging careful installation for each panel.